HOW DO YOU DO THAT?
TIPS AND TECHNIQUES PART 1
3-D COLLAGE - ADHERING THE ELEMENTS
I had someone email me asking if I would consider doing an on-line class. The person really liked some of my techniques. Because my style is so "improve" I figured I could never do anything that structured. However I don't mind sharing my techniques. Feel free to use these techniques and make them your own. I think of polymer clay as "Adult Playdough". Play with the techniques and learn from your mistakes. Some of my favorite discoveries were from mistakes. I will do a blog post on some of those in the future.
How do I do 3-D collage jewelry, and get the pieces to stick together?
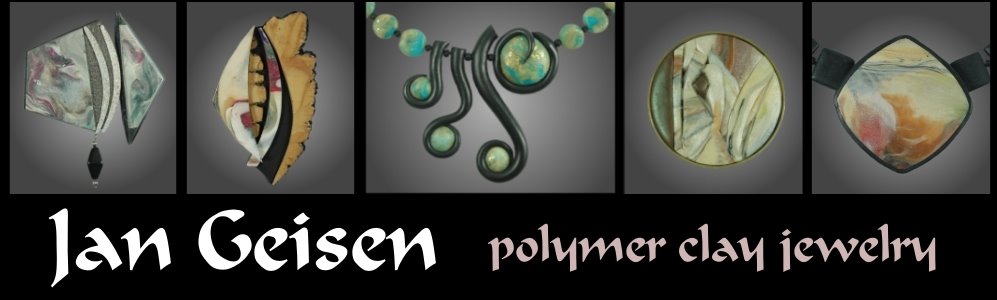
I work with both baked and unbaked pieces, and also incorporate other items into my collage brooches and pendants. The pendant on the left was made from baked clay pieces plus a metal imitation coin. (The techniques for creating the colors and textures will be explained in a future blog post.) The brooch on the right was constructed with baked and non-clay elements on a base of unbaked clay.


CLICK ON THE IMAGE TO SEE A LARGER VIEW
- There is no need to use anything to adhere unbaked to unbaked clay. It will stick to itself. However you should use something to adhere baked to unbaked clay. They will stick to each other, but I have found that the bond is not very strong and may not hold if exposed to any trauma. Liquid clay is the best "glue" for adhering clay to itself - both baked to unbaked, and baked to baked. I use Kato Clear Liquid Polyclay. Fimo used to make a liquid clay. I don't know if they still do. It used to come in transparent, opaque white, opaque black and opaque gold. That would work too. I would not use Fimo Decorating Gel. I know that it has a rubbery consistency . I don't know how that would work as a glue. I have never tried it. I don't find the rubber consistency characteristic appealing.
- When gluing with liquid clay, don't use a lot. It makes the pieces slippery so they the elements don't stay where you place them. Also it oozes out the sides. Kato clay dries shiny so it will show after baking were it oozed out and will need to coat of varnish to hide. This could be a problem if you don't want to, or can't, coat the piece. Some of my patina techniques can't handle a varnish coat. So I am very careful about how I apply it.
- Kato Liquid Polyclay can also be used as a clear coat. To get a good shine the piece needs to be heated with a heat gun immediately after pulling it from the oven. I have only tried this a couple of time. It does work, but you need to be careful so you don't get the piece too hot. I think that causes it to bubble. I also don't think it works after the piece has cooled.
- Gluing non-clay pieces to clay has caused me some problems. For many years I used Zap-a-Gap, a gap filling cyanoacrylate glue (like Super Glue brand) to adhere elements to clay. This was recommended by Victoria Hughes in her articles and videos. Recently I have had problems. I don't know if the glue has changed, or if I am asking too much of it for the gluing tasks I am now doing. I have recently read that it isn't "impact resistant". (I read that in an ad for a new type of Gorilla brand cyanoacrylate glue that says that brand is). I will have to try it, because I have had some brass frames pop off when the jewelry piece was dropped. Someone also told me that the glue goes bad after about 6 months. That may be true. I have had some problems with pin backs coming off. I had been using the same bottle of glue for a while.
- I have switched to 2 part epoxy resin to glue on pinbacks. It holds really well, but is messy to use. Be careful not to get any glue on the pin mechanism. Been there, done that! The mechanism doesn't work well when glued shut.
- A lot of people use E6000 to glue on pinbacks. I used to, but not anymore. I used to store the pins I wore stuck into the side of a carboard box in my walk-in closet. It got hot in there in the summer and over time the pinbacks slide as the glue softened.
- I now use 2 part epoxy to glue non-clay elements to be collages, if the pieces are big enough, so that I can put the glue in the middle and not have it ooze out the sides. I also sometimes use it to glue on my outer frames like in the pendant pictured above. Because the glue will ooze out on an outer edge I can wipe it off before it dries.
- Another glue I have gone back to using for adhering tiny elements is G-S Hypo Cement.
- My favorite source of polymer clay and related products is PolymerClayExpress.com. I see that they now list a new type of Zap-a-Gap glue. The description for Flex-Zap says "Use this CA glue where the bond needs to be flexible, such as for gluing buna cord into closure beads, or gluing layers of cured clay together." Check out the webpage: http://polymerclayexpress.com/adhesives.html That page also lists a cyanoacrylate glue from Lisa Pavelka that says it is bakeable. I have re-baked pieces that had Zap-a-Gap glued elements without any problem. I will have to try some of these new glues.
- I have also been using G-S Hypo Cement to adhere the frames. The tube had a very tiny nozzle, hence the name, that allows it to be put into tiny spaces. It seems to work well.
Because I don't really trust any glue and have had some problems with non-clay elements coming off that I have glued to the surface, I have started using both clay and glue to hold elements together. You will notice copper textured clay in the center of the coin of the pendant above on the left. This isn't mere decoration. It actually overlaps the top of the coin and acts as a rivet. The coin was glued on, the clay was added using liquid clay to adhere it to the baked base then re-baked.
- For the brooch above, on the right, I pushed the head pins and beads into the unbaked clay base then added elements on top to hold them in. Again there is clay in the center of the brass square to act as a rivet that helps hold it in.


